-40%
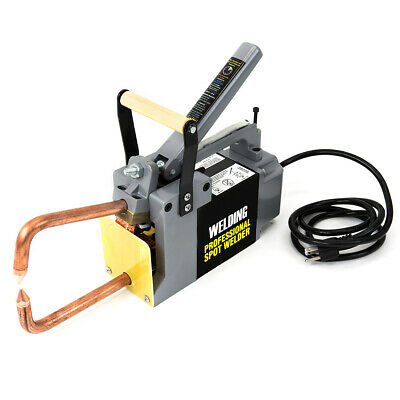
Pneumatic Battery Pulse Spot Welder Soldering Battery Spot Welding Machine New
$ 358.97
- Description
- Size Guide
Description
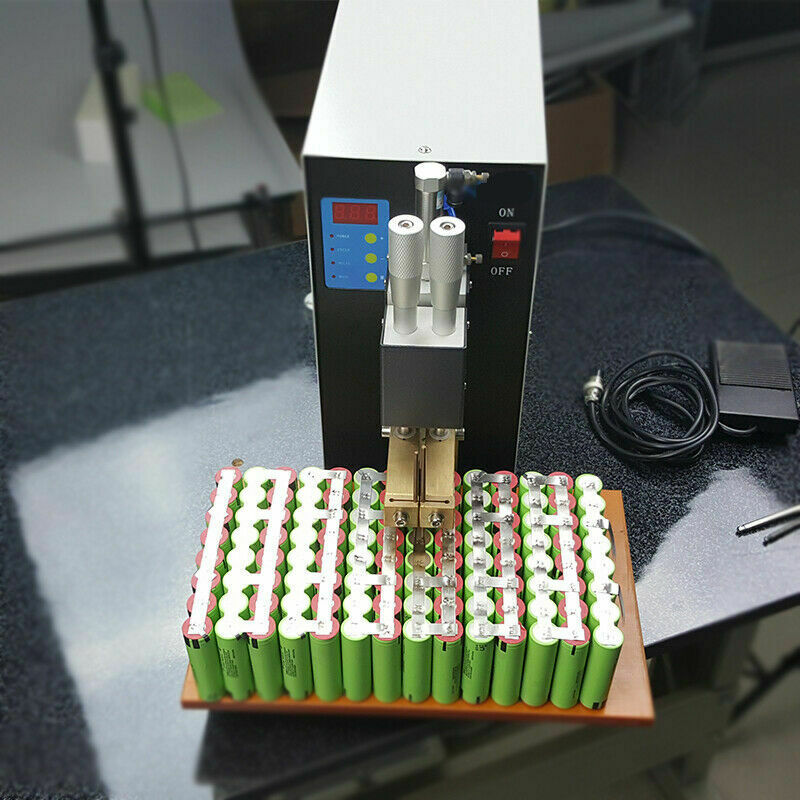
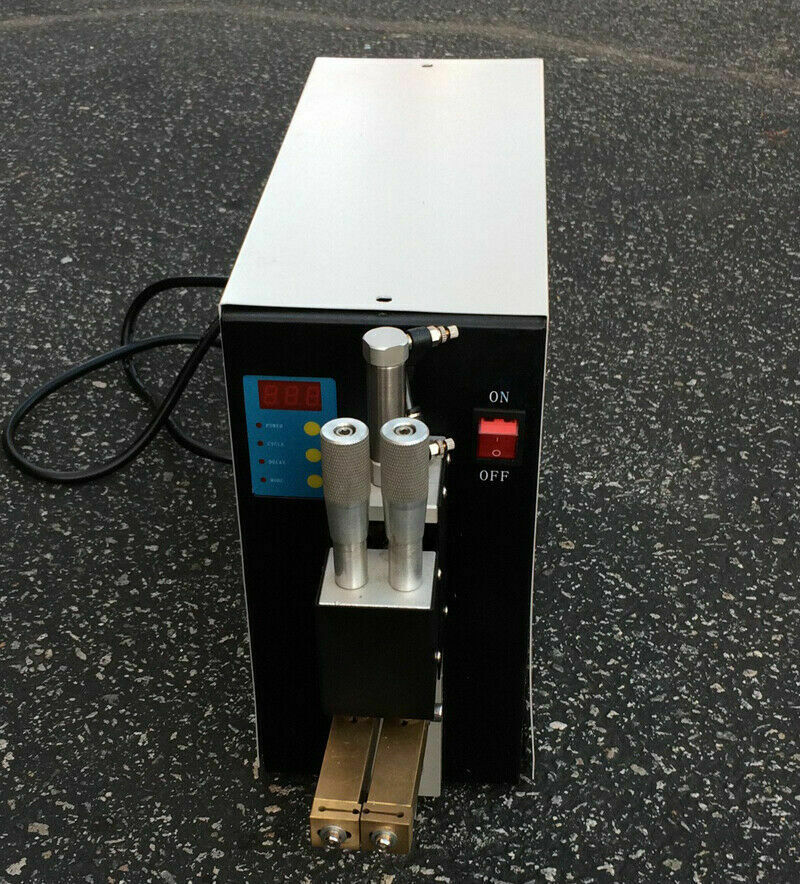
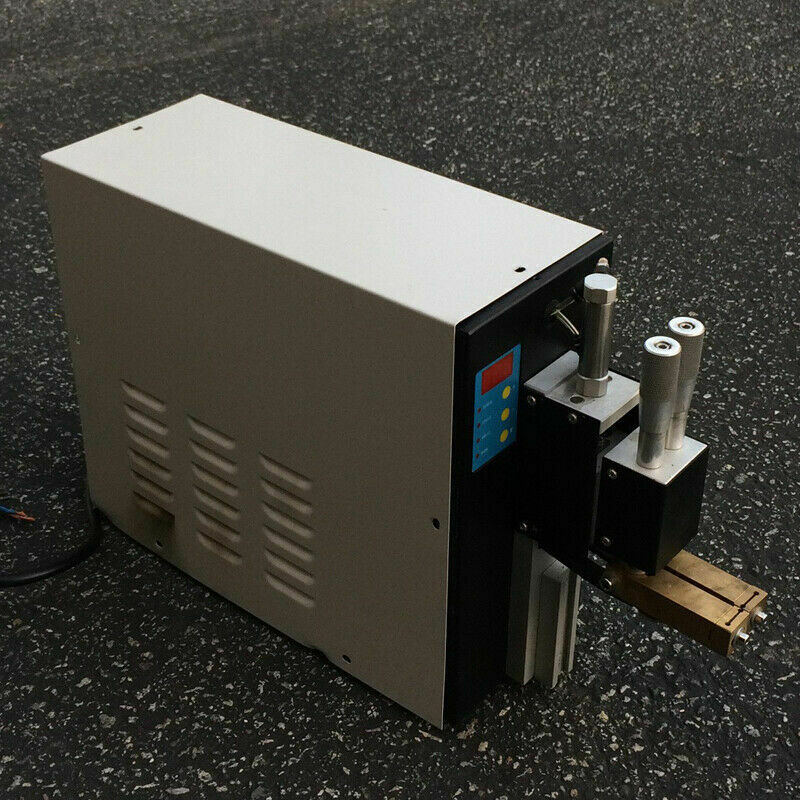
Pneumatic Battery Pulse Spot Welder Soldering Battery Spot Welding Machine NewIntroduction
The machine is controlled by 8 bit microcomputer. The welding is reliable and reliable, and the solder joint is beautiful.
Apply to stainless steel, copper, aluminum, alloy and other similar or dissimilar metal welding.
Principle
The principle of pneumatic AC pulse type resistance welding is that the 220V power is changed into low voltage by using welding transformer, and the low voltage and high current are output at an instant, so that the welding workpiece has high temperature and the forging force is reached to achieve the purpose of welding.
Parameters
Project
Parameters
Welding method
AC pulse
Pulse number
1-5
Energy regulation
1-999
Electrode pressure
1-4kg
Electrode stroke
15mm
0.59inch
Length of welding arm
70mm
2.76inch
Rated capacity
3kw
Rated input voltage
AC220V
±10%
Rated input current
10A
Rated input pressure
0.6Mpa
Secondary no-load voltage
4V
Secondary maximum current
5000A
Net weight
15kg
Outline size
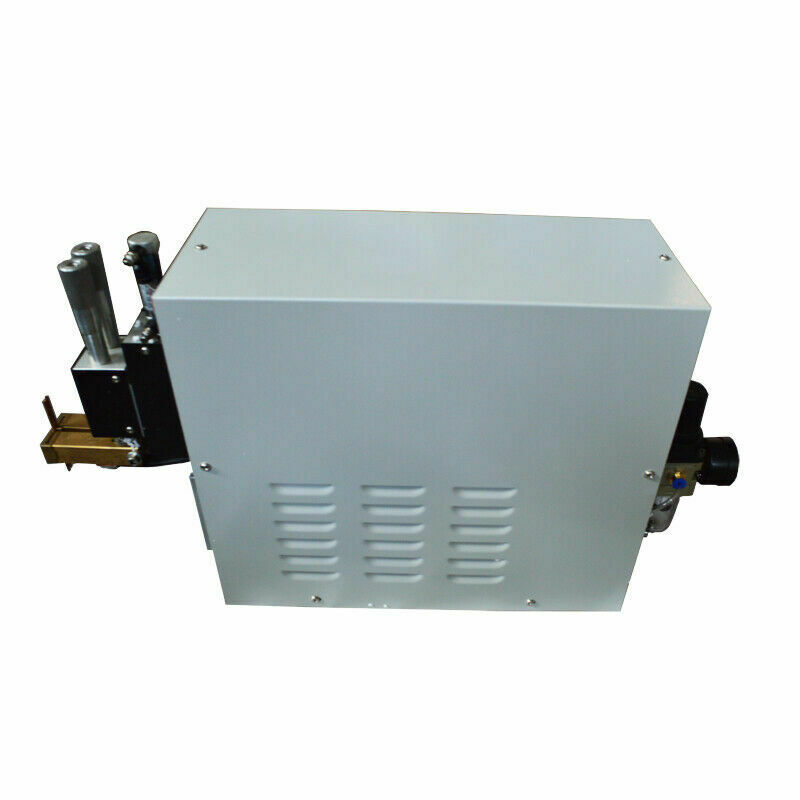
40*15*31 cm
15.75*5.91*12.2inch
Install, join
1. Mounting electrodes
Loosen the electrode locking screw, put the electrode into the corresponding hole of the electrode fixing seat, adjust the electrode height and lock the electrode locking screw.
2. Connecting foot switch
Insert the foot switch joint into the foot switch interface and tighten the nut of the foot switch joint.
3. Connecting gas source
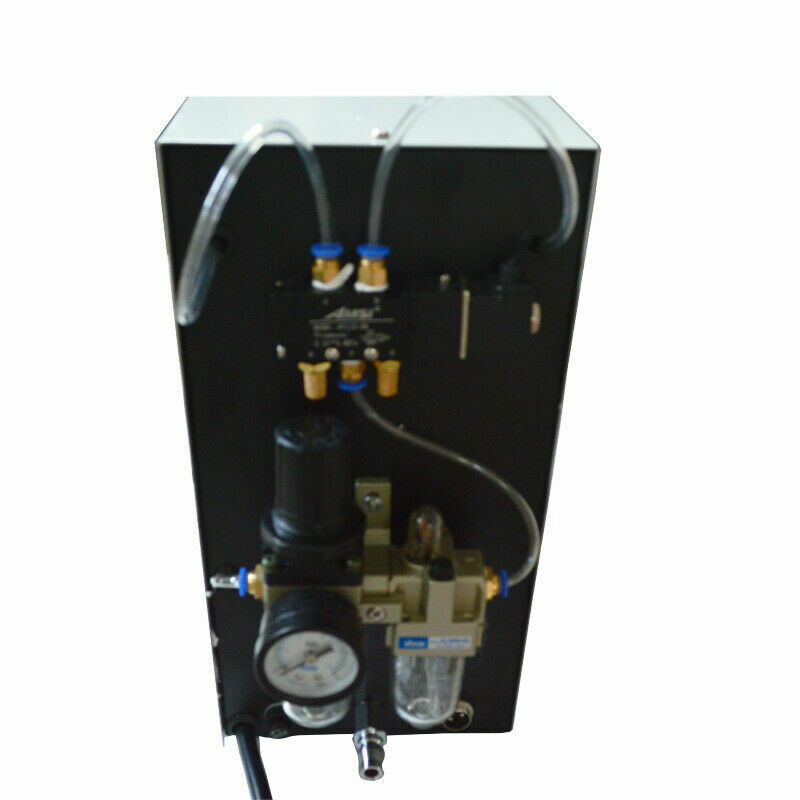
A compressed air connector corresponding to the compressed air interface is inserted into the compressed air interface.
4. Connecting power supply
Plug the power plug into the corresponding 220V/10A socket.
Adjustment
Instructions: press "press" in the following instructions to press the button and then loosen. "Long press" means press the button to hold for more than 1 seconds.
Switch on the power switch and enter the standby mode.
1. Welding energy adjustment
In the standby mode, press the function key of the control panel to enter the setting state, and the POWER status light starts flashing. Press one "+ key" welding energy, plus one, press long "+ key" welding energy increase rapidly; press one "key" welding energy to reduce one, long press "key" welding energy to reduce rapidly. Press the four function key to save the setup parameters and exit the set state to enter the standby mode.
The welding energy value is related to the output current: the greater the welding energy, the greater the output current, and vice versa. The welding energy adjusted to the appropriate value, in order to ensure the welding work of solid and not "breakdown" or "false" phenomenon.
2. Welding pulse adjustment
In the standby mode, press the "function key" of the two control panel to enter the setting state, and the CYCLE status light starts flashing.
Press one "+ key" welding pulse number plus one, press one "key" welding pulse number minus one. Press the three function key to save the setup parameters and exit the set state to enter the standby mode.
The number of welding pulses is the number of pulses to be welded. Less welding pulse number should be used for workpieces with lower melting point or thinner, and more welding pulse should be used for workpieces with higher melting point or thickness. Generally, the number of welding pulses is recommended to be 2.
3. Preload time adjustment
In the standby mode, press the "function key" of the three control panel to enter the setting state, and the DELAY status light starts flashing. Press a "+ key" welding preload time, plus one, long press "+ key" welding preload time increased rapidly; press a "key" welding preload time minus one, long press "key" welding, pre pressing time is reduced rapidly. Press the two function key to save the setup parameters and exit the set state to enter the standby mode.
Preloading time value and the head start this period of time to discharge welding related action: preloading time the greater the value from head start action to discharge welding time is longer, and the shorter period. Adjust the preload time to the appropriate value to ensure that no "fire" or "slow welding" phenomenon occurs during the welding process.
4. Welding mode adjustment
In the standby mode, press the "function key" of the four control panel to enter the setting state, and the MODE status light starts flashing. Press one "+ key" welding mode plus one, press one "key" welding mode to reduce one. Press the "function key" to save the setup parameters and exit the set state to enter the standby mode.
Welding mode 1: standby mode, closed pedal switch, horn down and put pressure on the workpiece discharge welding, welding head reduction, complete a welding, enter the standby state. This mode applies to normal welding.
Welding mode 2: standby mode, closed pedal switch, welding head down and put pressure on the workpiece, press the "+" button for discharge welding or release the foot switch reset head. This mode is suitable for debugging welding.
Welding mode 3: standby mode, closed pedal switch, welding head without action and immediately discharge. This mode is suitable for hand welding of welding arm and extension line.
5. Electrode height adjustment
Loosen the electrode locking screw, adjust the electrode to the proper height, and then lock the electrode to lock the screw.
6. Worktable height adjustment
Unscrew work table adjusting screw, adjust worktable to proper height and lock screws.
7. Electrode pressure adjustment
Pull up the pressure regulating valve knob, rotate clockwise, increase the electrode pressure, turn counterclockwise, reduce the electrode pressure, adjust to the proper pressure, then push the pressure valve knob to the inside.
8. Welding arm rising speed adjustment
Loosen the locking nut of the rising speed control valve, rotate the speed regulating valve clockwise, slow down the rising speed of the welding arm, speed up the speed of the welding arm counterclockwise, adjust to the proper speed, then screw the nut tightly.
9. Welding arm falling speed adjustment,
Loosen the locking nut of the descending speed control valve, rotate the speed reducing valve clockwise, slow down the speed of the welding arm, rotate the speed valve counterclockwise, speed up the welding arm, adjust to the proper speed, then screw the nut tightly.
Welding
After fifth adjustments, welding machine can carry out welding operations.
The workpiece to be welded securely placed on the work table, adjust the work piece and the corresponding position of the table, close a foot switch, welding arm decline, the welding workpiece pressing, welding machine will automatically complete a welding.
Maintenance
1. The welding machine must not turn off the power supply when the parameter is set. The incorrect shutdown of the power supply may cause the setting parameter to be unable to save or the parameter is out of order.
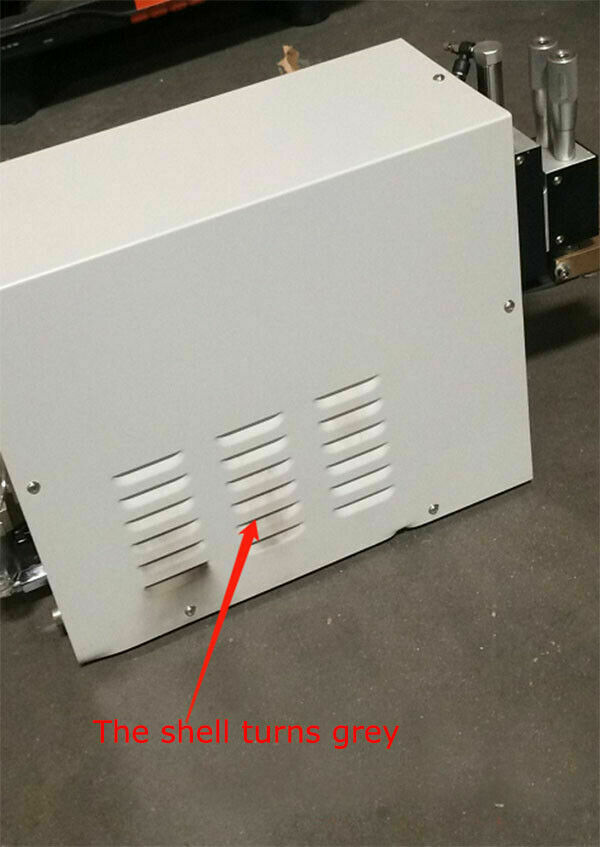
2. when the welding machine stops working, it should turn off the power supply. Unplug the power plug and the compressed air plug for long periods of time.
3. try to make sure the electrodes are clean and smooth. When the oxide layer appears on the electrode surface, the surface oxide layer can be removed by abrasive tools.
4. keep enough oil in the oil mist. When the lubricating oil is not enough, you can add lubricating oil from the filler hole. It is recommended to use ISO, VG32 or the same grade lubricant.
Shipping & Handling Details
Default Shipping Cost or Free Shipping Information:
▲ Default shipping cost or free shipping service is only for the customers from Canada or the lower 48 United States by Canada Post, USPS or the UPS Ground. Customers from other areas or needs other shipping ways, please contact us.
▲ Buyers from Guam, Puerto Rico, Virgin Islands, American Samoa, Alaska, Hawaii, PO Boxes, APO/FPO addresses or other countries/areas, there WILL be extra shipping costs, please contact us for more detailed information.
▲ Please make sure your address is valid for both UPS and USPS services. Any costs incurred because of incorrect or undeliverable address should be undertaken by buyer.
Handling Time:
Shipping is usually made in 1-3 business days after payments cleared. Orders are processed from Monday-Friday; Not on the weekends & public holidays.
Sales tax / Customs duties:
Any sales taxes or Customs duties are not included. If came out, they must be undertaken by the buyer.
Damage In Shipping:
Contact us First! We will work with you to get the case resolved in the fastest method.
Return / Refund
If you are not 100% happy with your purchase, please contact Us. Please don't directly opened a request or case without informing us, or else, we will do some discounts on the warranty and other sales-services later on. Hope for your understanding.
Returns & Exchanges
▲ All returns must be made within 14 days of delivery date. Items must be in new, unused condition, with all original materials included with the shipment. A partial refund may be applied for opened or damaged items, depending on the condition.
▲ Items returned under the buyer’s remorse: The return shipping fee must be covered by the buyer; The original shipping cost will also be deducted from the refund. 15% restocking fee of the items purchase price will be charged.
▲ Returns that are the result of our seller's error: Buyer will receive a full refund of the item as well as shipping charges
▲ All returns require a RA (Return Authorization) number that will be given by our seller. Please contact with us at first for more details.
Defective & Damaged Products
▲ If product was received damaged or not as described, please send us some pictures or videos, so we could well understand your problem, then solve them for you ASAP. Besides, it's much helpful for us to claim with UPS, remind our related department to pay much more attention to packaging later on. Hope for your understanding.
▲ Replacement or refund of defective or damaged products can only be returned in exchange for the exact same product, or else, the purchase price will be refunded back to your original payment method.
▲ If an item is received damaged, customer service must be contacted within 7 days of receiving your item. All returns require a RA (Return Authorization) number as above.
Payment
eCheck Issues:
Payments via eCheck do not clear immediately. Usually you will wait 5-7 days after checkout for it to clear. Then we will arrange shipments for you.
Warranty & Feedback
▲ 6 months' warranty for the machines, not for the consumables. We stand behind our products all the item, so even if your warranty period has expired, you can still seek for service or technical support from us with low cost.
▲ Any warranty shipping cost to us is responsible by buyer.
▲ Any shipping cost to buyer is responsible by the seller.
▲ We committee to the customer satisfaction and want to bring you the best purchase experience. If there is any problems, please contact us ASAP. If not, please leave us a positive feedback as it's very important for us. Thanks very much.
On Sep-28-21 at 23:25:11 PDT, seller added the following information:
